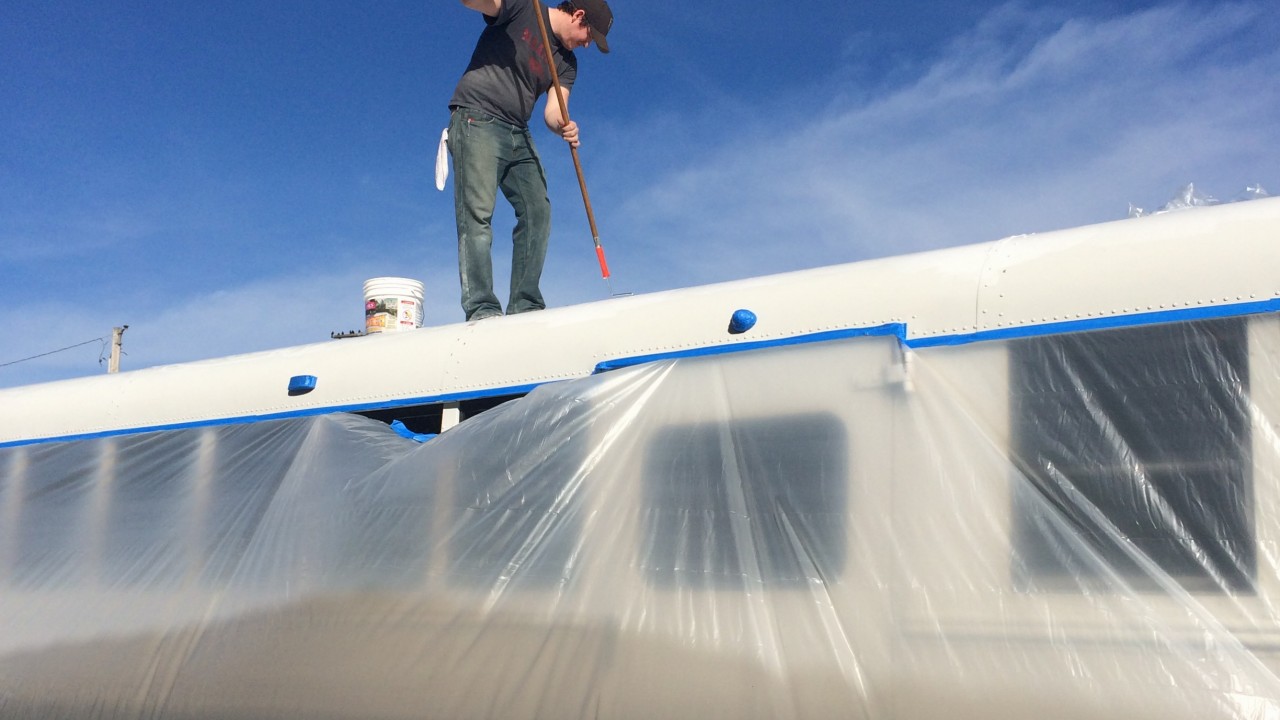
Arkansas is known for its weird weather. But having 60 degree days in January is pretty unusual, even for us. I am not complaining though. And working on a bus with temps in the high 30’s is a little brutal. So with great weather in the forecast and a free weekend, we decided to paint the roof of the bus in an attempt to finally make it waterproof.
Our previous failed attempts include taping and caulking seams, with Dicor products, both inside and outside the roof. It seemed to work in the places we put it, but there was somehow always more leaks. Some of it, I am sure, was due to working on things from the roof. Anyway, we were getting annoyed with always finding a new leak and the solution was to paint the top of the bus with an elastomeric paint.
Early Saturday, we drove the bus out to Pickles Gap, where a friend let us use a bay at his workplace to keep the bus covered when drying. First things first was to sand the roof, taking the gloss off. Zack took to the sides with a loop and hook palm sander, where we just stuck on large scotch brite pads. I did the top with sandpaper. We had originally purchased the scotch brite pads to get around the rivets but it worked so well, we decided to stick it to the sander. The sander I used was not hook and loop, so that is why we used two different approaches.
After sanding we cleaned the top. We mixed some TSP cleaner in a bucket of water. Zack moped the top of the bus with it, while I went behind him and sprayed it off with a hose. The TSP is not suppose to leave a residue and it seemed like a quick way to clean the top really well. And it was! It was a sunny day so that helped it dry but to make it go even faster, Zack used a leaf blower to blow off all the excess water. The goal was to complete this in one day.
With the top of the bus sanded and cleaned, we were almost ready to paint. We used this tape to tape the remaining rivets and seams on the top. Zack had taped most of them in previous attempts to stop the leaks. Then we taped off where we wanted the paint to stop, just above the drip rail, and plastic wrapped the whole bottom of the bus. All this prep work definitely took the most time.
Then, we finally painted. It is a really thick paint and some recommend using a squeegee, but it didn’t really make sense in this application. The top of the bus is not really a smooth surface and there are lots of rounded edges to go over. So we just rolled it on with a good old fashioned paint roller. It does leave a little texture but after it dries, you can’t really see it.
We did two coats since we had so much left over after the first one. And why not make the top extra waterproof! We have had a few decent rains and no signs of water inside. So I think we will mark it as a success. Our home is now waterproof!
In hindsight…
- If you have a bus or someplace that you are trying to make waterproof, just do this first. It will save you headaches and probably a few dollars.
- I think we were being extra cautious when wrapping the bus in plastic. The wind made it really difficult and it took us at least an hour to do it. Just be careful when you paint and save yourself this step. I do still recommend taping off the bottom of where you want the paint to stop!
