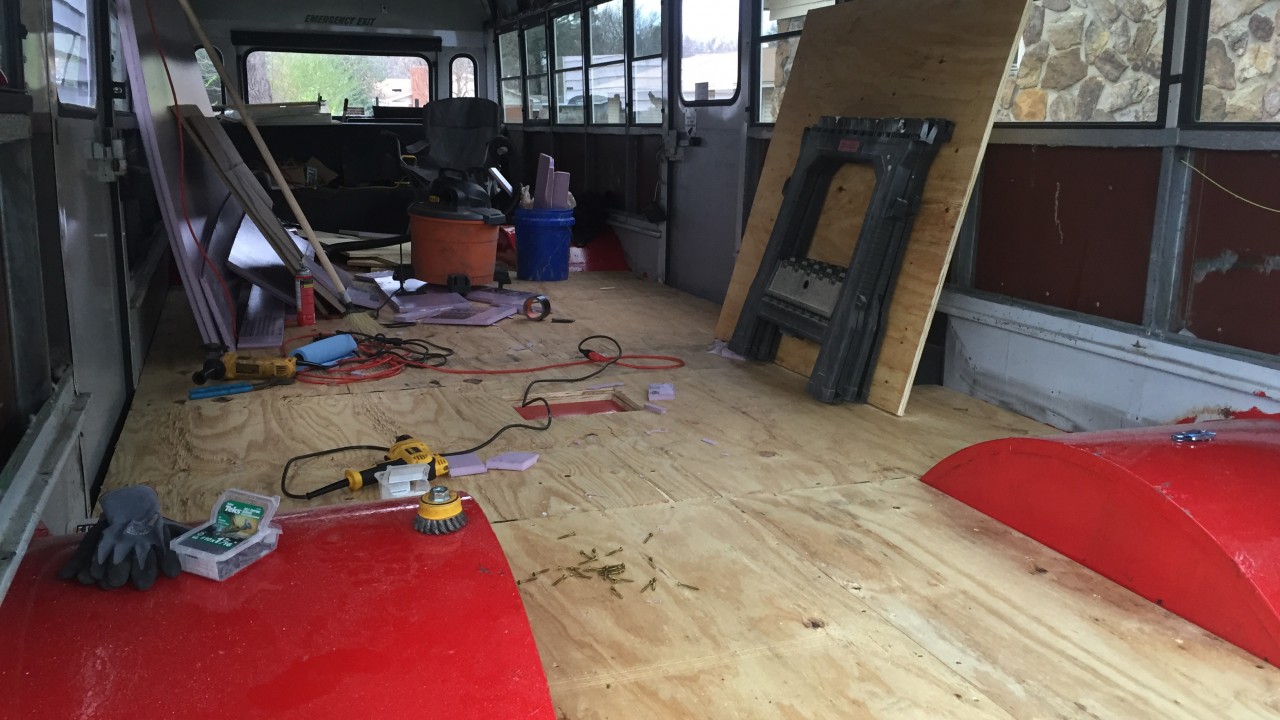
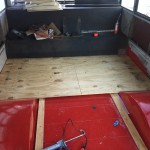
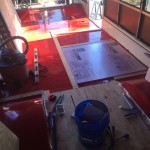
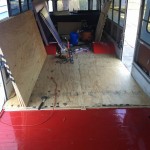
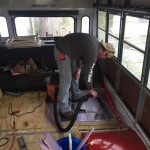
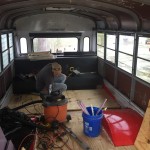
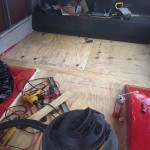
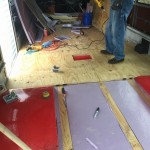
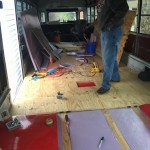
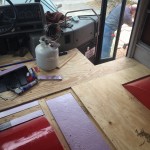
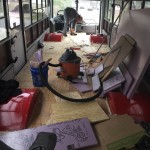
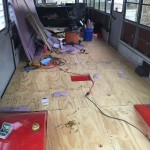
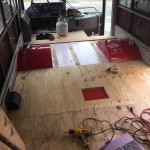
Subfloor!
Its been entirely too long and my friends have been hounding me to make a blog post, so here goes! (It’s just much easier to be lazy and update Instagram…!)
We only recently solved our dilemma with the leaks, but we didn’t want to keep that from holding back progress so we went ahead and continued with the install of our sub-flooring.
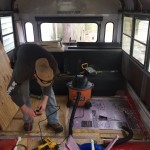
We went with 3/4″ foam laid directly onto the metal substructure within a frame for our plywood sub-flooring to adhere too. I’ve seen a lot of people concerned about screwing down the floor because it just creates more holes, but it honestly didn’t feel right not securing the plywood to the metal, so we went with wood to metal screws and made sure everything was super secure and attached to the bottom of the bus. The flooring is rock solid and feels like it will last for years to come.
With the flooring in place we had finally finished the first project that actually involved building something into the bus instead of ripping more things out. It felt REALLY good to finally accomplish a building project.
But… It’s been almost two months since our previous post and there is more to come! With a blank slate we were ready for the next step in the process…
